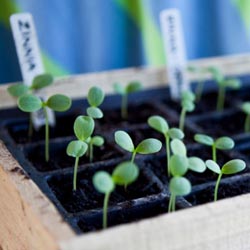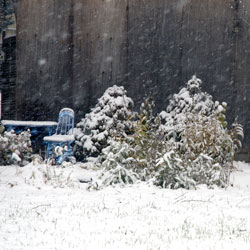
Even though it may be miserable weather outside, you don’t have to be stuck buying overpriced fresh herbs at the store or using less flavorful dried herbs. Why not grow your own inside the house? Most common herbs will grow quite happily in a sunny window at any time year, even when the weather outside is less than garden-friendly.
Where to Grow Your Herbs
Any sunny window can be great for growing indoor herbs, but most people prefer to keep their herbs in the kitchen. After all, it’s probably warm and sunny there. Moreover, think how great it would be to just reach over to your indoor herb garden, take a few snips of this and that, and serve “garden fresh” tasting foods to your family and guests.
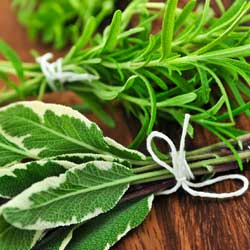
Best Indoor Herb Choices
Wondering what herbs will do best indoors? The most popular and easily grown herbs for your kitchen garden include…
| Basil | Oregano |
| Chives | Parsley |
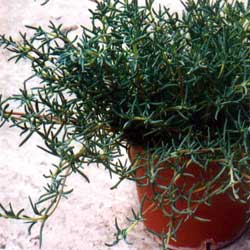
| Lemon Balm | Rosemary |
| Marjoram | Sage |
| Mint | Thyme |
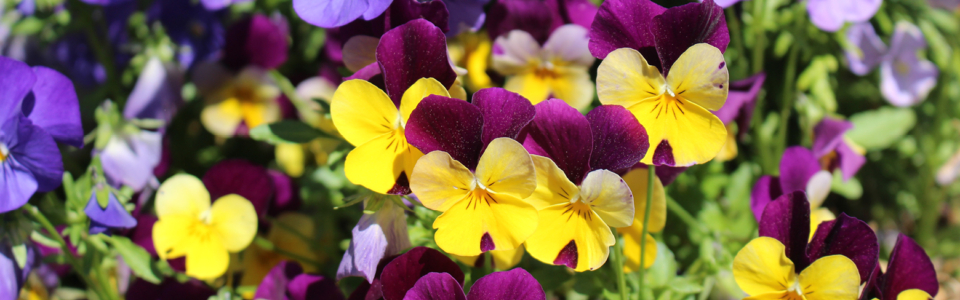
Herbs are great, but don’t overlook edible flowers as well! Pansies, marigolds and nasturtiums grow well inside the house when given sufficient light and add whimsical color and texture to salads and other meals.
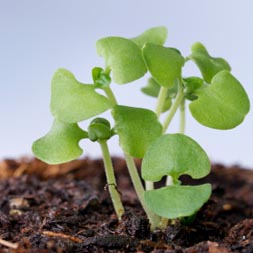
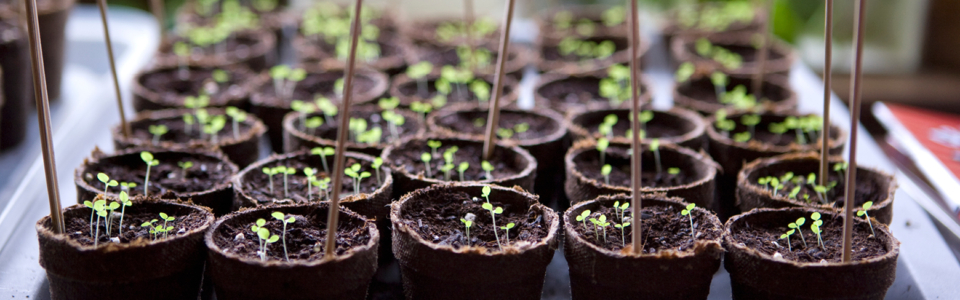
Easy Tips for Growing Herbs Indoors
Growing herbs is no different than growing most houseplants. Luckily, herbs aren’t as fussy as many other plants. To grow the best, freshest and most flavorful herbs, consider…
- Light
Brighter is better. South, southwest or western-facing windows should provide a minimum of four hours of sunlight. If none of your windows provides this, you may want to add indoor grow lights to supplement the sunlight your herbs receive.
- Soil
Herbs do not require rich soil nor will they do well in heavy soil. Be sure to use a prepackaged potting mix instead of outdoor garden soil that may contain insects and weeds. Special herb mixtures provide the perfect balance of drainage, water retention and fertility for growing herbs.
- Fertilizing
Plan to fertilize more frequently than you would if your herbs were growing outdoors. Fertilize every other week with a weak solution of liquid fertilizer.
- Watering
Because some herbs prefer more water than others, it is best to plant different herbs in separate pots. When choosing a pot, remember a smaller pot will dry out sooner than a larger pot and will require more frequent watering. Clay pots dry more quickly than plastic or ceramic. It’s a good idea to give your herbs a quick monthly “rain” shower under the faucet to wash off house oils and dust.
- Drainage
Herbs don’t like sitting in wet soil, so pots with drainage holes at the bottom are essential. Be sure to use a saucer or pan to catch the draining water and prevent damage to your windowsill or table, but do not let the pot sit in a puddle for long or it may encourage root rot.
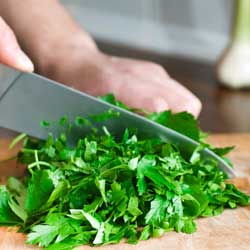
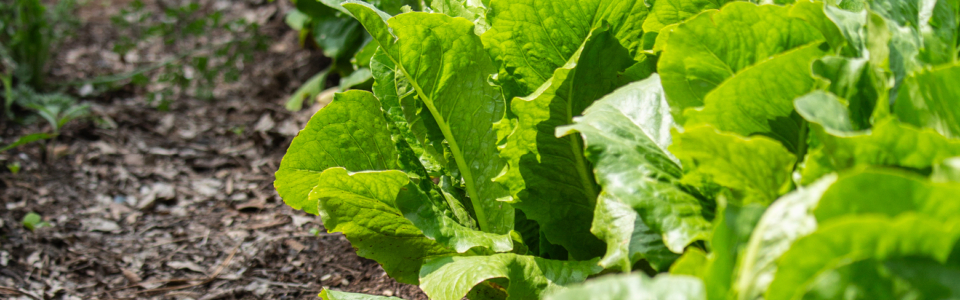
- Harvesting
When you’re ready to enjoy your herbs, snip and use the older leaves to encourage more plant growth. Keeping the plant smaller and bushier discourages flowering that changes the taste. Although the plants will be smaller and less lush than those grown outside, their flavor and convenience will make you forget about the winter weather!
When spring returns, you may find yourself addicted to growing your herbs in pots. After all, pots contain unruly herbs such as mint, can be decoratively arranged on your deck or balcony and continue providing delicious and healthful benefits in your cooking for many months. Bon appétit!