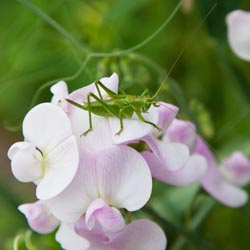
For many gardeners, it’s not the tulip or daffodil to forward to at the end of winter, it’s the sweet pea (Lathyrus odoratus) that declares, “spring is here!” The colors and sweet fragrance of these climbers announce the coming of warmer days like no other.
Choosing Sweet Peas
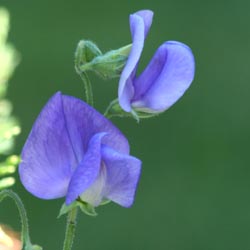
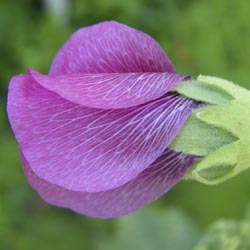
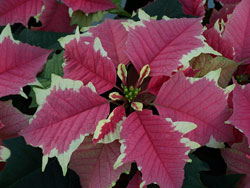
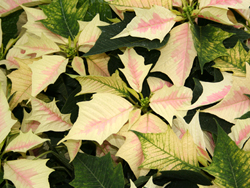
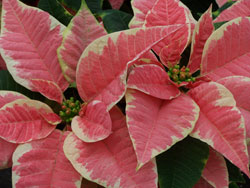
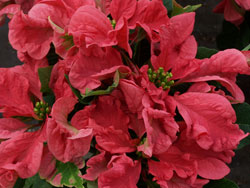
The hardest part of growing sweet peas is choosing from the riot of colors. From the palest of pastels to the most vivid of hues (including stripes), reds, pinks, white, blues, purples, yellows… the list seems endless. Many gardeners buy mixed packages of seeds to avoid the decision and to add a riot of spring color to the garden and landscape.
Beyond color, it is important to carefully consider different types of sweet peas. If the seed package says “tendril” this means the plants have small green growths to attach to a surface or netting to help the vine grow upright. This is how the taller sweet pea vines support themselves as they grow to 6′ (or even taller!), and they will need an appropriate trellis, arbor, arch or other structure to reach their full beauty. The varieties with no tendrils remain more compact, making them great in containers. Some of these will trail downward, creating a beautiful draping effect. Other dwarf non-vining varieties act as annual fillers in the mixed garden bed or as borders.
Growing Sweet Peas
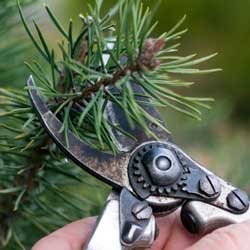
These beauties are super easy to grow. To improve the germination rate, especially of the darker colors, use nail clippers to gently nick the seed coat and soak overnight before planting. This will allow thin shoots to pierce through the thick seed covering more easily so they can grow effectively. Sow the seeds 2″ deep in rich, well-draining soil in a full to partial sun location. If the soil is heavy, add compost to improve the texture and nutrition. Keep the soil moist, but avoid saturated soil that can drown small seeds or delicate roots. Germination should occur within 10-28 days. Continue even and consistent watering. When seedlings are 4-5″ tall, thin them to create 5-6″ spacing between plants. To encourage bushy and compact plants, pinch the tips when three sets of leaves form. Generally, do not provide additional fertilizer, otherwise the plants may be lush but the flowers will be sparse.
Impatient gardeners or those who may have a shorter growing season may also be able to purchase seedlings from a garden center. This way there will be fragrant sweet pea bouquets a month earlier, and there’s no need to miss out on the sweetness if the ideal seed planting date has passed. Removing flowers when transplanting will encourage stronger root growth to produce larger flowers later if desired.
Seeds for perennial sweet peas are also available. Unlike annual sweet peas, the perennial plant will continue to bloom throughout warm, humid summers. Be aware, however, that annual sweet peas tend to have a gloriously heady scent, but this is a feature sorely lacking in the perennial form.
Enjoy the Beauty
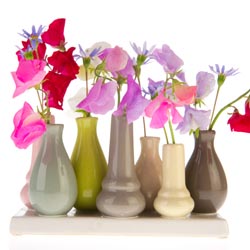
Those long-lasting, colorful and fragrant flowers are so sweet in large loose arrangements. They’ll easily last a week if the water is changed daily and a bit of the stem is snipped off each time to improve water uptake. Remember, the best way to extend the sweet pea blooming season is by daily picking early in the day. Or, simply enjoy these beautiful blooms by walking through the garden each day and relaxing in their delicious scent and colorful blooms.
Fall Flowers – Really!
Gardeners who just can’t get enough of annual sweet peas don’t have to mourn their loss in spring. Instead, grow them again in the autumn! These fast-growing flowers will thrive just as well in the cool autumn as they did in the early days of spring. Just remember to provide enough time for flowering before the first frost hits, and you’ll love using sweet peas to say goodbye to the gardening season in fall just as you said hello to them in spring.