In nature, few relationships are as intricate and essential as that between the Monarch butterfly and the milkweed plant. Famous for being the most recognized insect in the US, these vibrant winged beauties rely on milkweed not only for sustenance but for their very survival. Sharing this fascinating relationship between Monarchs and milkweed with you, we’ll explore how this plant supports every stage of the butterfly’s life cycle.
Birthplace and Sanctuary:
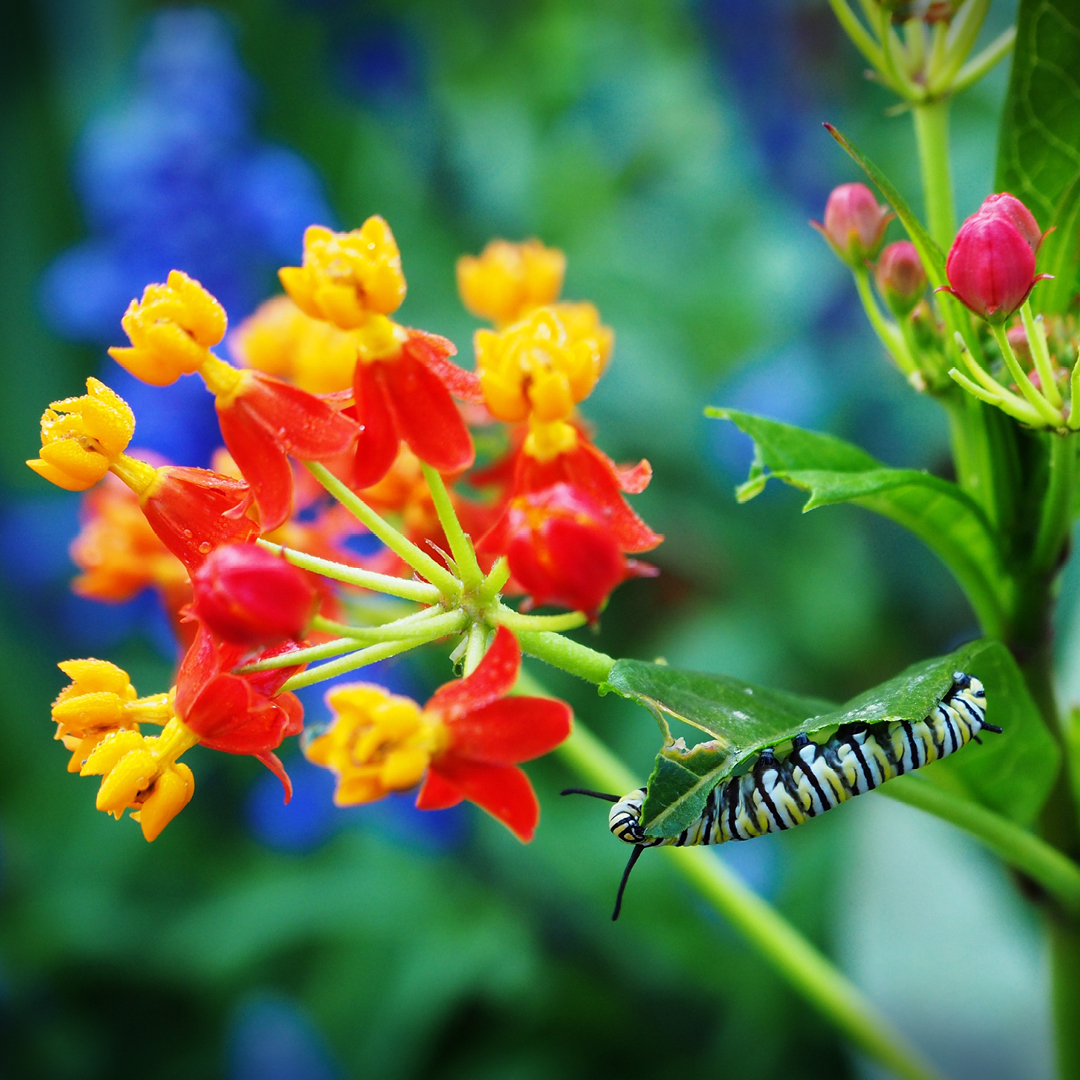
Milkweed, genus Asclepias, serves as the cradle of life for Monarch butterflies. Female Monarchs lay their eggs exclusively on milkweed plants, offering them a safe haven as they undergo their transformation from egg to caterpillar to chrysalis to butterfly.
Caterpillar Cuisine:
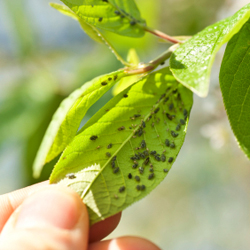
Once the Monarch eggs hatch, the tiny caterpillars feast voraciously on milkweed leaves. These particular leaves provide the essential nutrients needed for the caterpillars to grow rapidly. As they munch on the leaves, they accumulate toxins from the milkweed sap, making them distasteful and even poisonous to potential predators. This unique adaptation is crucial for the survival of Monarch caterpillars in the wild.
Metamorphosis Station:
As the caterpillars mature, they undergo a miraculous transformation within their chrysalis, emerging as fully-formed adult butterflies. Milkweed habitats provide the ideal environment for this metamorphosis to occur. Not only is milkweed the favored source of food, but the structure of milkweed plants, with their sturdy stems and broad leaves, offers ample space for Monarch chrysalises to hang securely until the butterflies emerge.
Fueling the Journey:
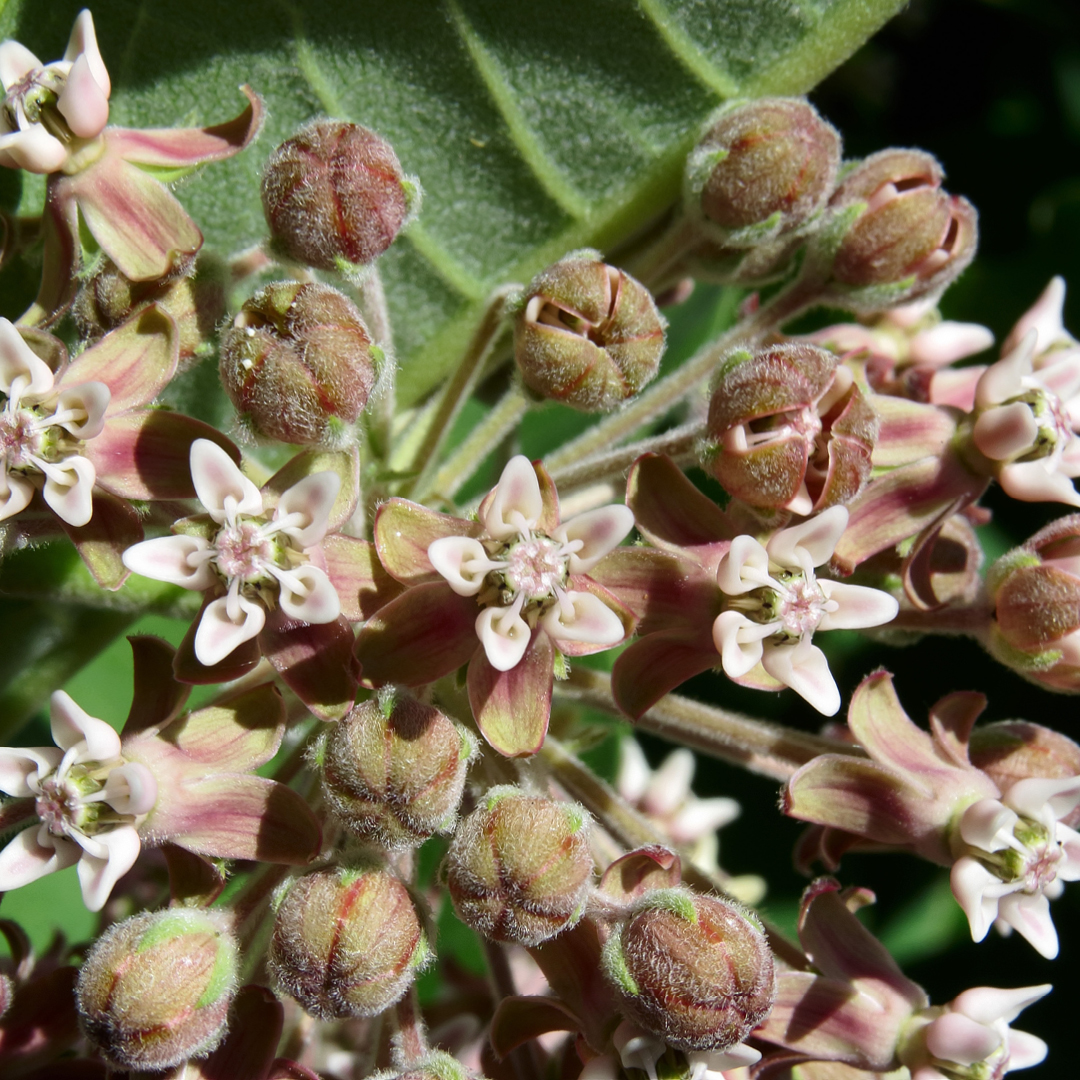
During their remarkable migration journeys, Monarch butterflies rely on milkweed for sustenance. Nectar from milkweed flowers serves as a vital energy source, fueling their long flights across continents. As they journey thousands of miles from their breeding grounds to overwintering sites and back again, Monarchs depend on the abundance of milkweed along their migratory routes.
Conservation Connection:
The decline of milkweed habitats poses a significant threat to Monarch populations. Factors such as habitat loss, pesticide use, and climate change have led to a decline in milkweed availability across North America. Efforts to conserve and restore milkweed habitats are essential for ensuring the survival of Monarch butterflies. By planting milkweed in home gardens, individuals can contribute to the preservation of this vital butterfly species. Selecting the appropriate milkweed species is crucial for attracting Monarchs. While there are over 100 species of milkweed native to North America, some varieties are particularly favored by Monarchs, and many are region-specific.
Milkweed Species for Northeast and Midwest
In the Mid-Atlantic States, there are several native milkweed species that are crucial for Monarch Butterflies. Here are some of them, along with their details:
Common Milkweed (A. syriaca)
Common milkweed is perhaps the most well-known milkweed species.
It typically grows in tall clusters and produces pink to purplish flowers. It is most often found in a variety of habitats, including fields, meadows, and roadsides.
Swamp Milkweed (A. incarnata)
As the name suggests, swamp milkweed is often found in wetter habitats like marshes, wet meadows, and along stream banks. It has clusters of pink to mauve flowers. Swamp milkweed is an excellent choice for wetter areas where other milkweed species might not thrive.
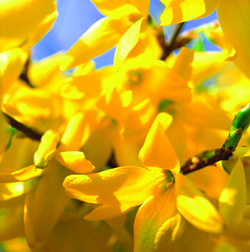
Butterfly Weed (A. tuberosa)
Butterfly weed is known for its vibrant orange flowers and is a favorite among gardeners. It prefers well-drained soil and is often found in dry fields, along roadsides, and in open woods. While it’s not as commonly used by Monarch larvae as some other milkweed species, it’s still an important nectar source for adult butterflies.
Poke Milkweed (A. exaltata)
This milkweed species has tall, slender stems and delicate, pale pink flowers. It’s typically found in shaded woodlands and along forest edges. While it’s not as widespread as some other milkweed species, it’s still an important host plant for Monarch caterpillars where it occurs.
Whorled Milkweed (A. verticillata)
Whorled milkweed is characterized by its narrow leaves and small clusters of white flowers. It’s found in a variety of habitats, including dry fields, open woods, and roadsides. While it may not be as common as some other milkweed species, it’s still valuable for Monarch butterflies, particularly in areas where other milkweeds may not grow as well.
These native milkweed species will not only provide an essential habitat for Monarch Butterflies but also support other native pollinators in your area. Make sure to choose species that are appropriate for your specific region and growing conditions.
Cultivating Milkweed for Butterfly Abundance
Are you ready to invite the mesmerizing beauty of Monarch butterflies into your garden? Cultivating milkweed isn’t just about growing a plant; it’s about fostering an ecosystem, supporting biodiversity, and witnessing the awe-inspiring journey of one of nature’s most iconic creatures – the Monarch butterfly.
Now that you’ve chosen your milkweed varieties, it’s time to roll up your sleeves and get gardening! Here’s a general step-by-step guide to growing milkweed in the garden to create a haven for Monarchs.
- Site Selection
Choose a sunny spot in your garden with well-drained soil. Although some exceptions exist, most milkweed plants prefer full sun but can tolerate partial shade.
- Soil Preparation
Milkweed isn’t overly picky about soil type but does prefer soil that’s not too compacted. Loosen the soil to a depth of about 6 inches and amend with compost if necessary.
- Planting
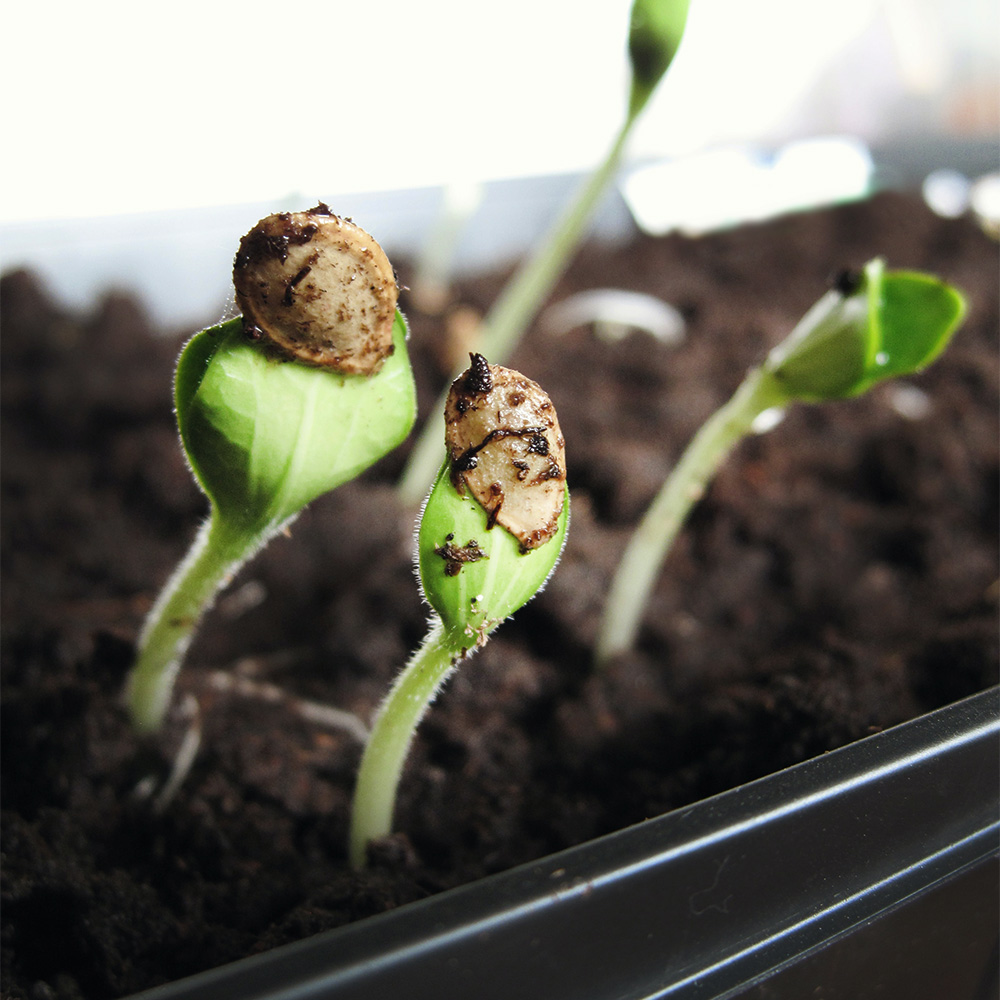
Sow milkweed seeds directly in the ground in early spring after the danger of frost has passed. If you prefer to start with seedlings, transplant them into your garden with plenty of space between plants to accommodate their mature size.
- Watering
Keep the soil consistently moist but not waterlogged, especially during the plant’s early growth stages. Once established, milkweed is relatively drought-tolerant.
- Maintenance
Milkweed is generally low-maintenance, but removing weeds around young plants can help them thrive. Deadheading spent flowers can encourage continuous blooming and prevent self-seeding if desired.
- Ongoing Support
Embrace the biodiversity that milkweed attracts by avoiding the use of pesticides and herbicides in your garden. Encourage beneficial insects and pollinators to make themselves at home alongside your Monarchs.
As your milkweed garden flourishes, so too will the population of Monarch butterflies that grace your outdoor oasis. By cultivating milkweed, you’re not just growing a plant – you’re fostering a connection to nature, supporting wildlife conservation efforts, and creating a sanctuary for Monarchs to thrive. So, roll out the floral welcome mat and prepare to be enchanted by the majestic beauty of Monarch butterflies in your own backyard.