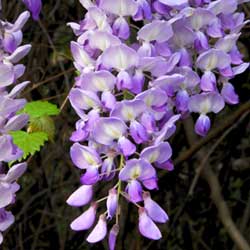
What do you do when you fall in love with a plant but you know it spreads and could take over your entire garden? You don’t have to give up your hopes of nurturing this plant, you just have to learn how to contain it securely without destroying its beauty.
Favorite Spreaders
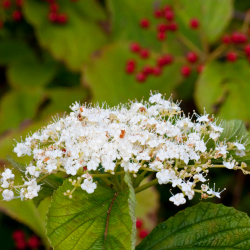
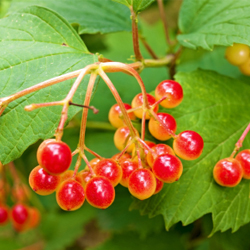
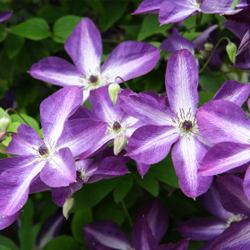
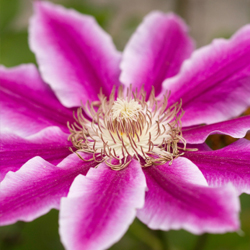
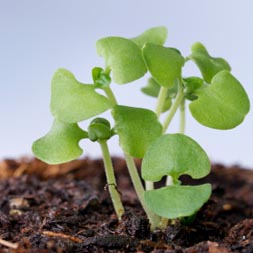
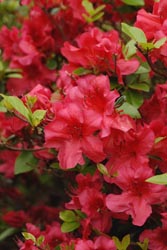
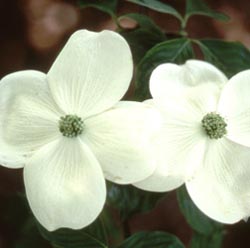
Many different plants may be desirable, but have the nasty hidden personality of spreading out of control. Common spreaders that are still garden favorites include…
- Mint
- Lamb’s ears
- Lily-of-the-Valley
- Beebalm
- Loosestrifes
Any plant that is labeled as “fast growing” or “aggressive” can potentially take over a garden space and should be treated with caution if you want to keep it contained.
Literal Containing
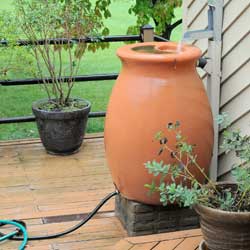
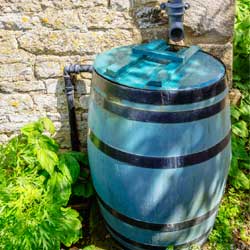
Containing a known spreader could be as easy as planting it in its own container. Ceramic, metal or resin pots certainly put a punch of color in a corner, on a deck or by the front entrance. They’re also great for adding plant height and focal points in the garden, and they will ensure the plant stays put.
Perhaps a touch of whimsy would add pizzazz to your garden while controlling your marauder. Picture your potential runaway planted in a pot, “sitting” in a hole cut in the seat of a painted and weather-sealed wooden chair. This creates a colorful garden focal point, elevates your beauty and keeps it from spreading. Another quirky option is to use an old, rusty wheelbarrow as the container and position it near the garden or inside a flowerbed. It can be fun to get creative with container options, all of which will help you enjoy your favorite spreading plant without letting it get out of control.
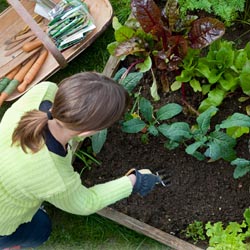
Containing Plants in the Garden
If you want the potential invader in the ground, research the plant well before introducing it to your garden. Different plants require different control measures. Mowing to eliminate new growth controls some plants. Herbicide applications can have an effect on others, while some require hardscaping to control their roots and keep them in place. Some plants may not give in easily to any control methods.
For the Most Vigorous Runners
In cases where plants are nearly assured to take over without proper control methods, trench containment may be the best option.
- Determine where you would like to plant, bearing in mind the needs of the plant for proper sunlight, moisture and soil condition.
- Dig a trench 26-30 inches deep along the boundary of the planting area that you wish to contain.
- Line this trench with a high-density polyethylene liner, leaving 2 inches of the liner above the soil line.
- Overlap the end of the liner by at least 6-8 inches to that the plant root cannot escape through the opening.
- Backfill the trench to secure the liner and hold it firmly in place. If desired, you may fill the trench with gravel or other inorganic material to create another level of containment protection.
- Plant inside the growing area, taking care not to disturb the containment trench.
- Periodically, check the edges of the trench liner to be sure the roots don’t try to climb over the barrier. If they are, be ruthless and cut them back.
Left to their own devices, vigorously spreading plants can quickly become a nightmare as they take over a garden or landscape. If you know how to contain these plants, however, your dreams of nurturing them in your yard can come true.