
As spring arrives, many low-lying areas of the garden may experience temporary flooding from melting snow or heavy rain. Choosing the right native plants for these wet conditions can help your landscape thrive, prevent soil erosion, and support local wildlife. By selecting species that tolerate early spring flooding, you can create resilient, beautiful, and ecologically beneficial plantings.
Understanding Soil and Site Conditions
Flood tolerance depends not only on species but also on soil type and drainage. Loamy or sandy soils drain more quickly, while clay-heavy soils may stay saturated longer. If your site is prone to standing water, consider creating mounds, raised beds, or swales to help improve drainage and plant longevity. Evaluate microclimates—plants may respond differently depending on sun exposure, wind, and proximity to other landscape features.
Seasonal Care for Flood-Tolerant Plants
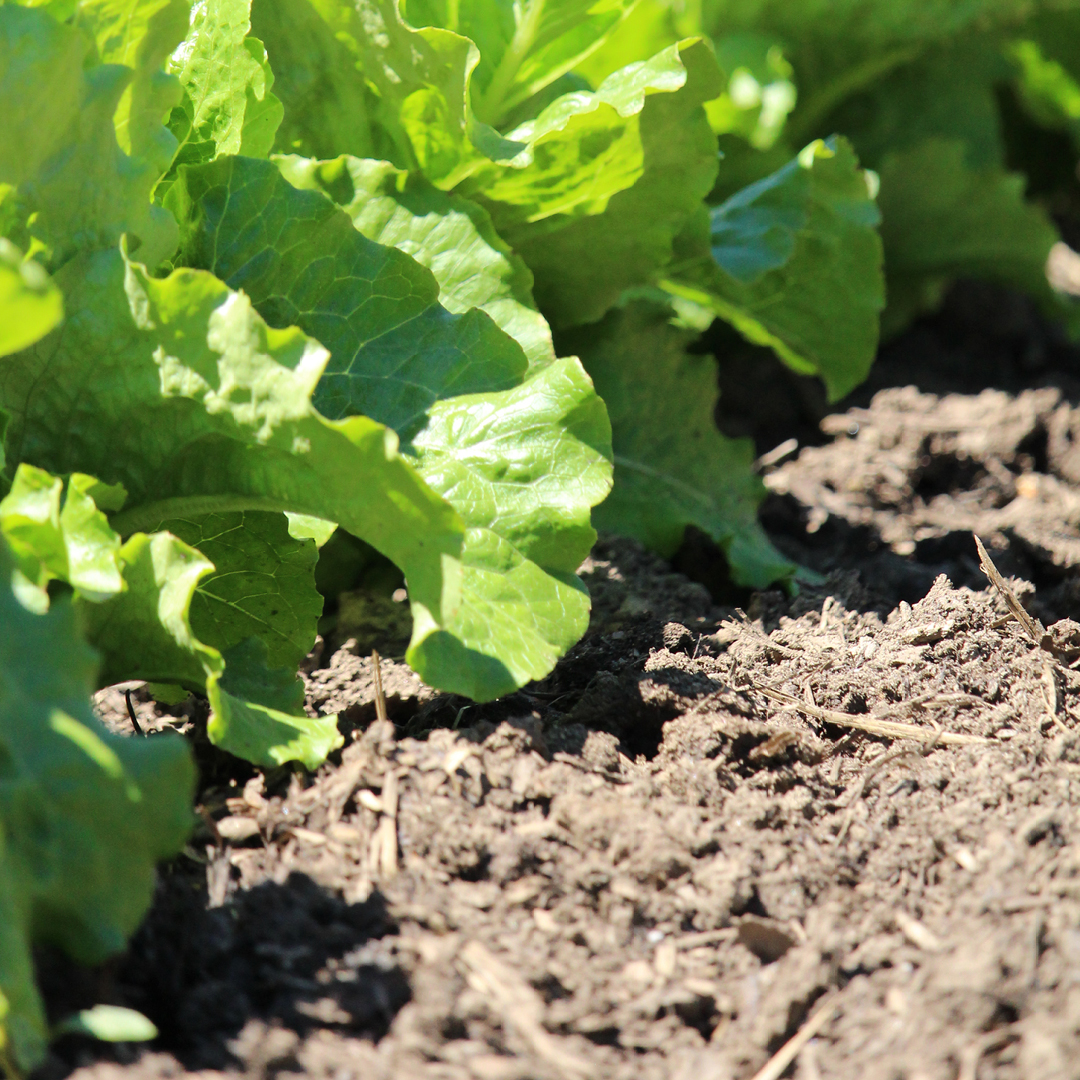
Early spring is an ideal time to prune, divide, or fertilize flood-tolerant native plants. Be mindful of soil compaction—avoid heavy foot traffic in saturated areas. Many wetland species are susceptible to fungal diseases, so ensure good air circulation and consider mulching with organic material that will break down naturally.
Companion Planting and Wildlife Benefits
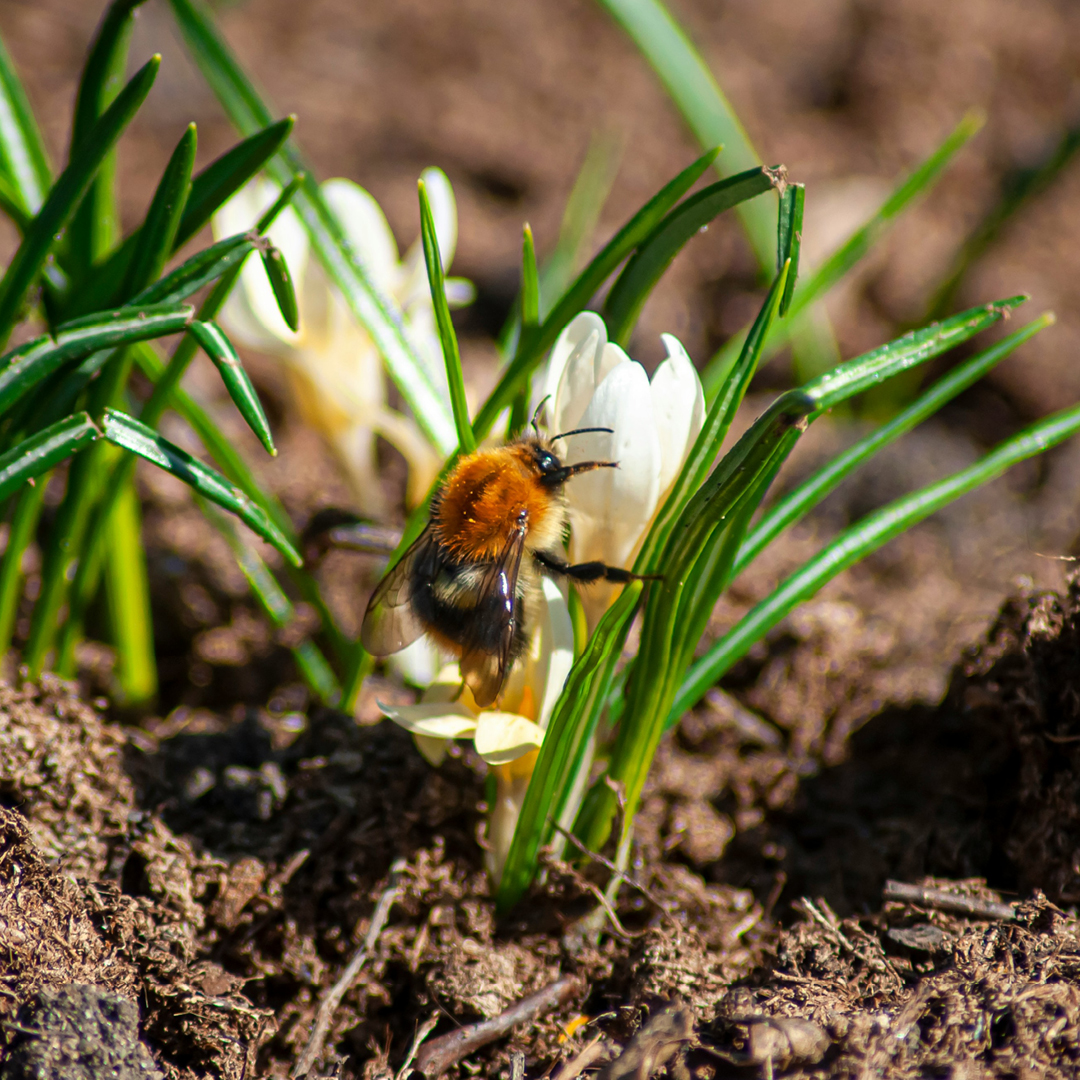
Flood-tolerant natives often pair well with other species to create layered, resilient landscapes. Consider plants that attract pollinators, birds, and amphibians, or provide seeds and berries for wildlife. By mixing different growth forms—tall emergent plants with low-spreading groundcovers—you can improve biodiversity while stabilizing wet soil.
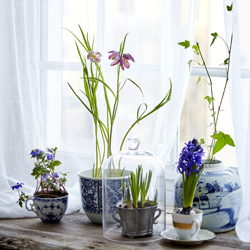
Design and Visual Interest
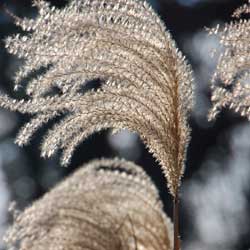
Even in wet areas, your garden can be visually appealing. Flood-tolerant natives offer varied textures, seasonal blooms, and contrasting foliage. Use taller plants as focal points, with shorter species around the edges to soften transitions. Ornamental grasses, rushes, and sedges provide movement and year-round structure, while flowering perennials add seasonal color.
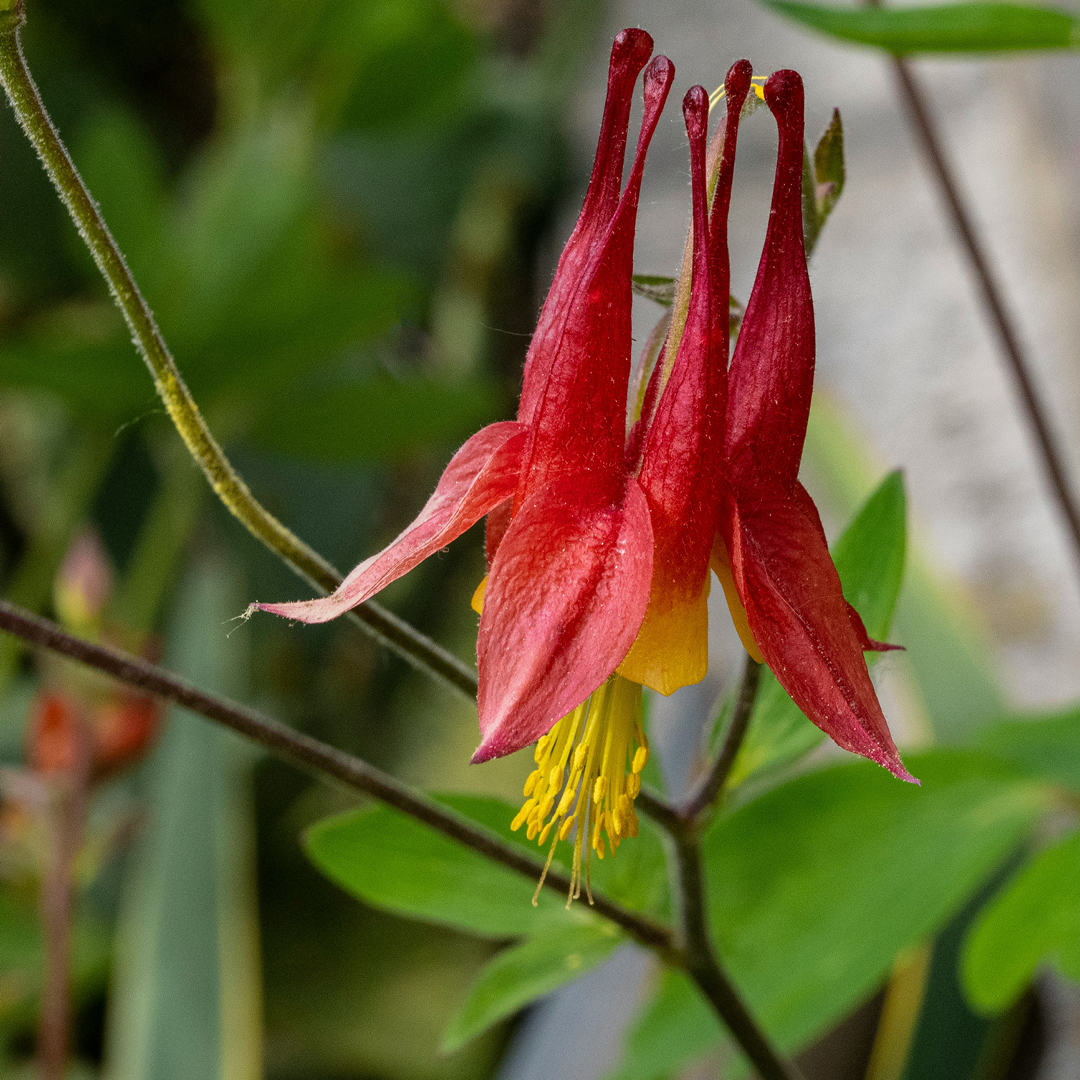
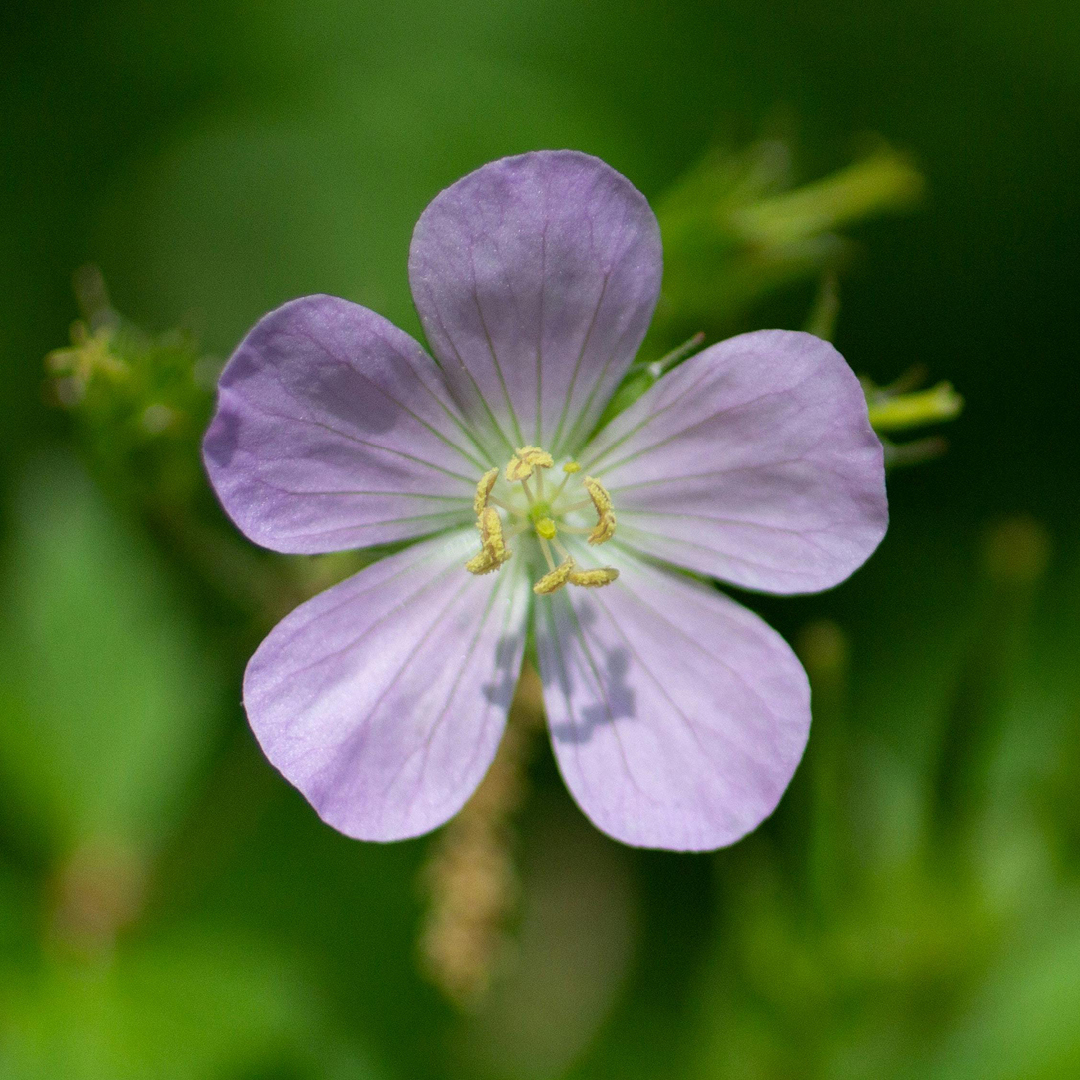
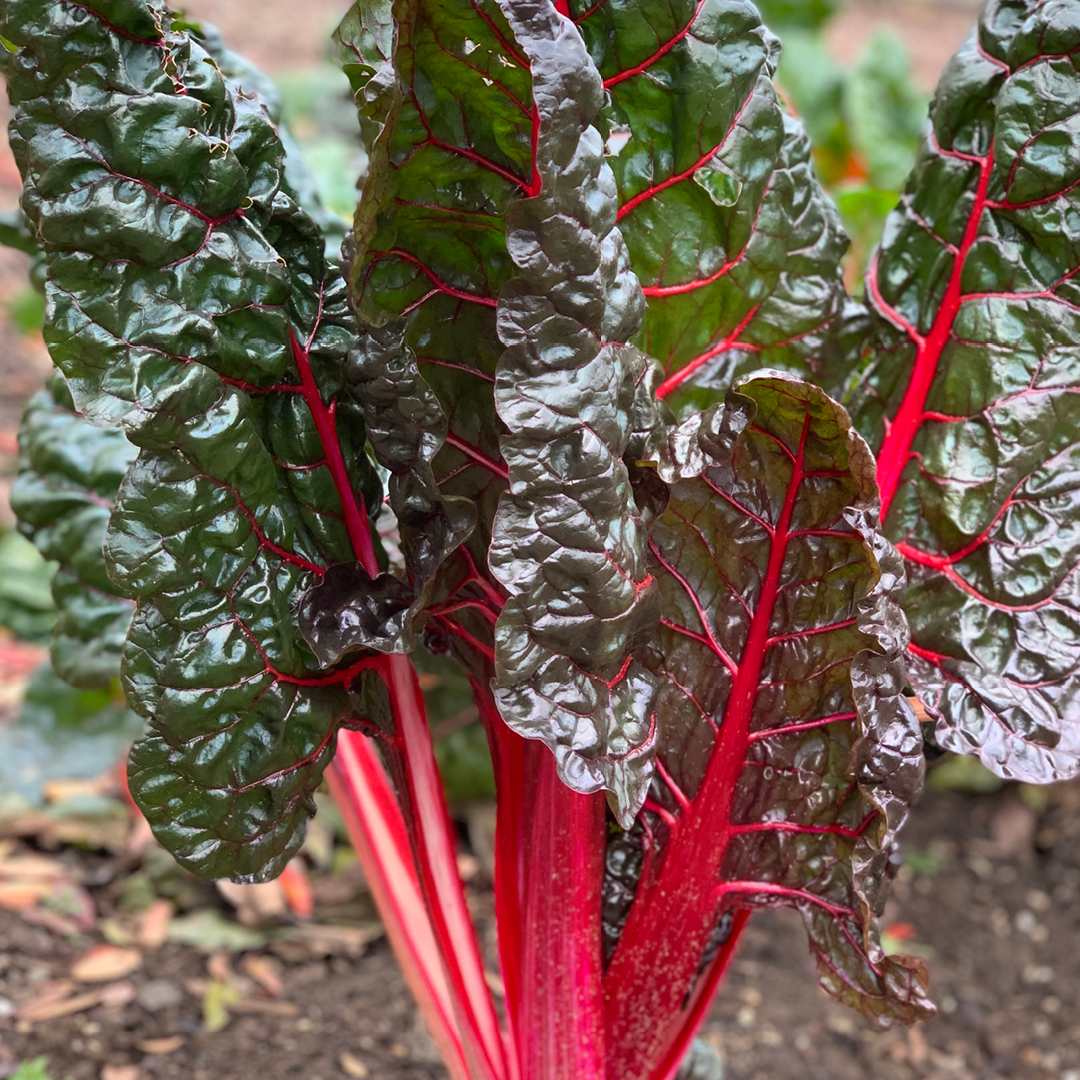
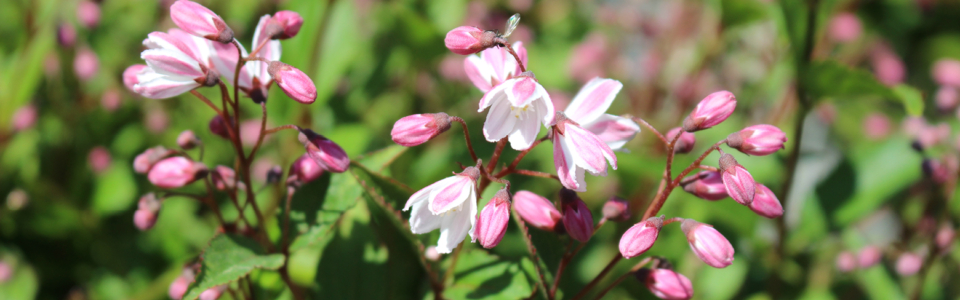
Top Flood-Tolerant Native Plants for Early Spring
Here are some excellent options for areas that experience early spring flooding:
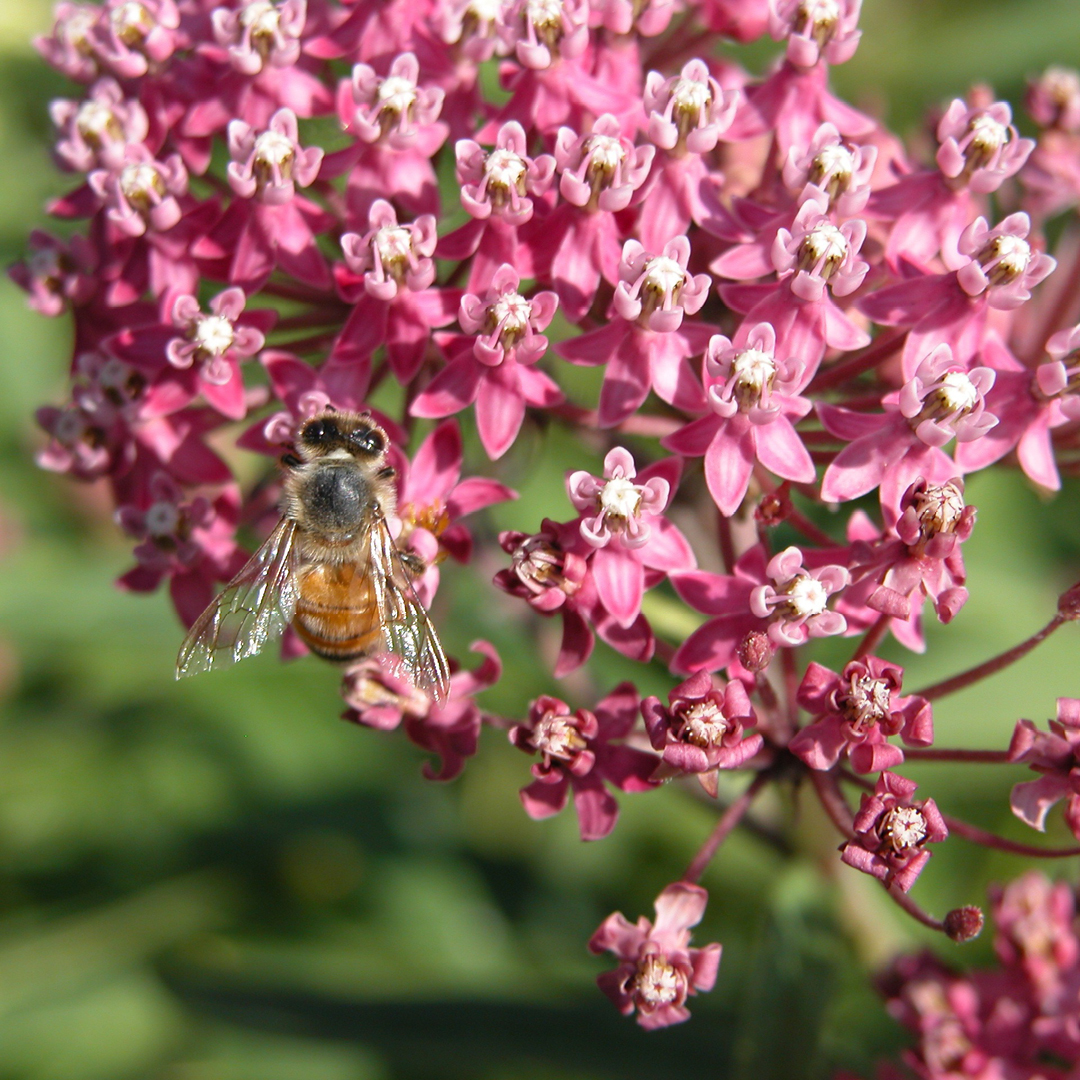
- Swamp Milkweed (Asclepias incarnata) – Upright perennial, 3–5’ tall; spreads via rhizomes; attracts pollinators.
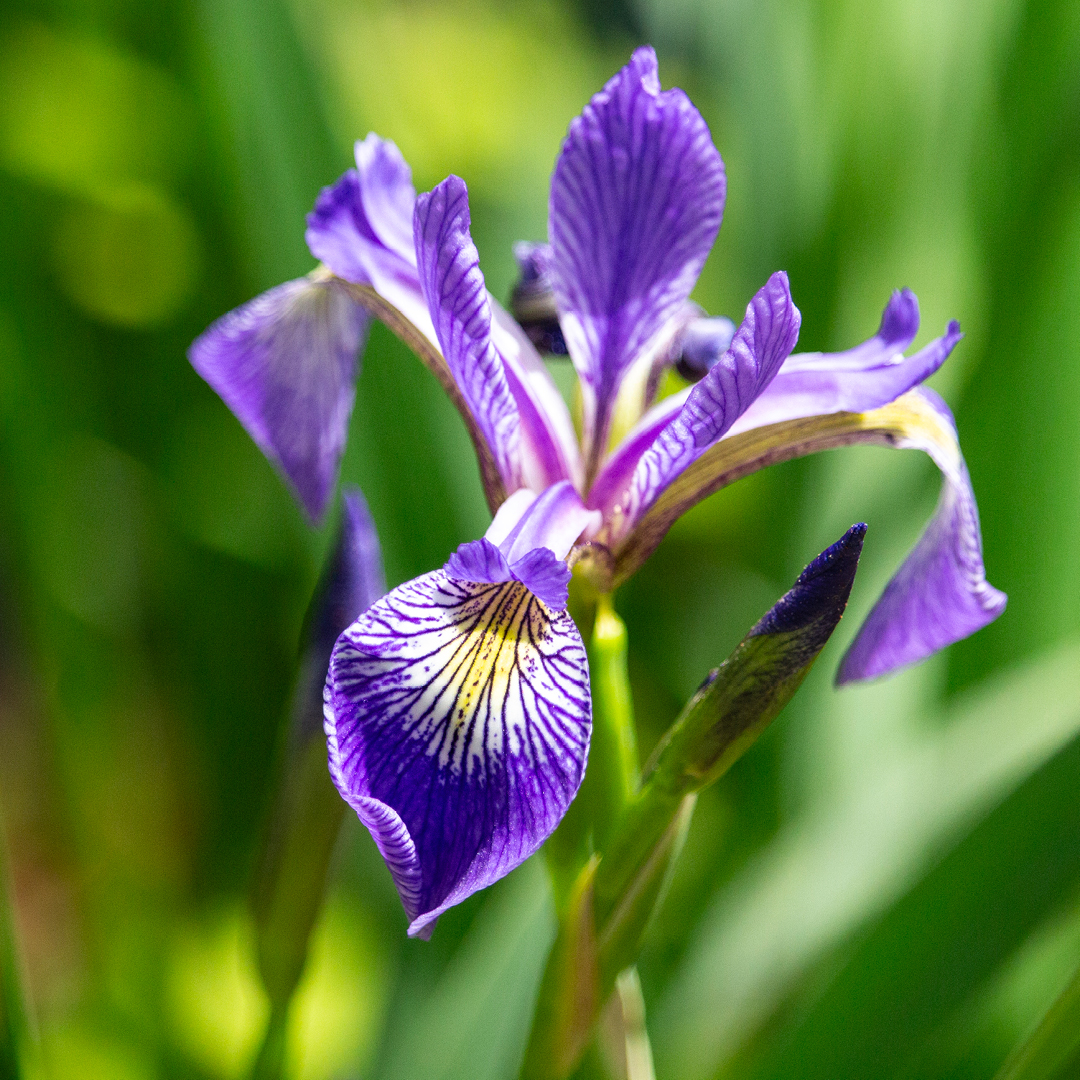
- Blue Flag Iris (Iris versicolor) – Clumping perennial, 2–3’ tall; spreads slowly; blooms in early summer.
- Cardinal Flower (Lobelia cardinalis) – Upright, 3–4’ tall; spreads gradually; vivid red flowers attract hummingbirds.
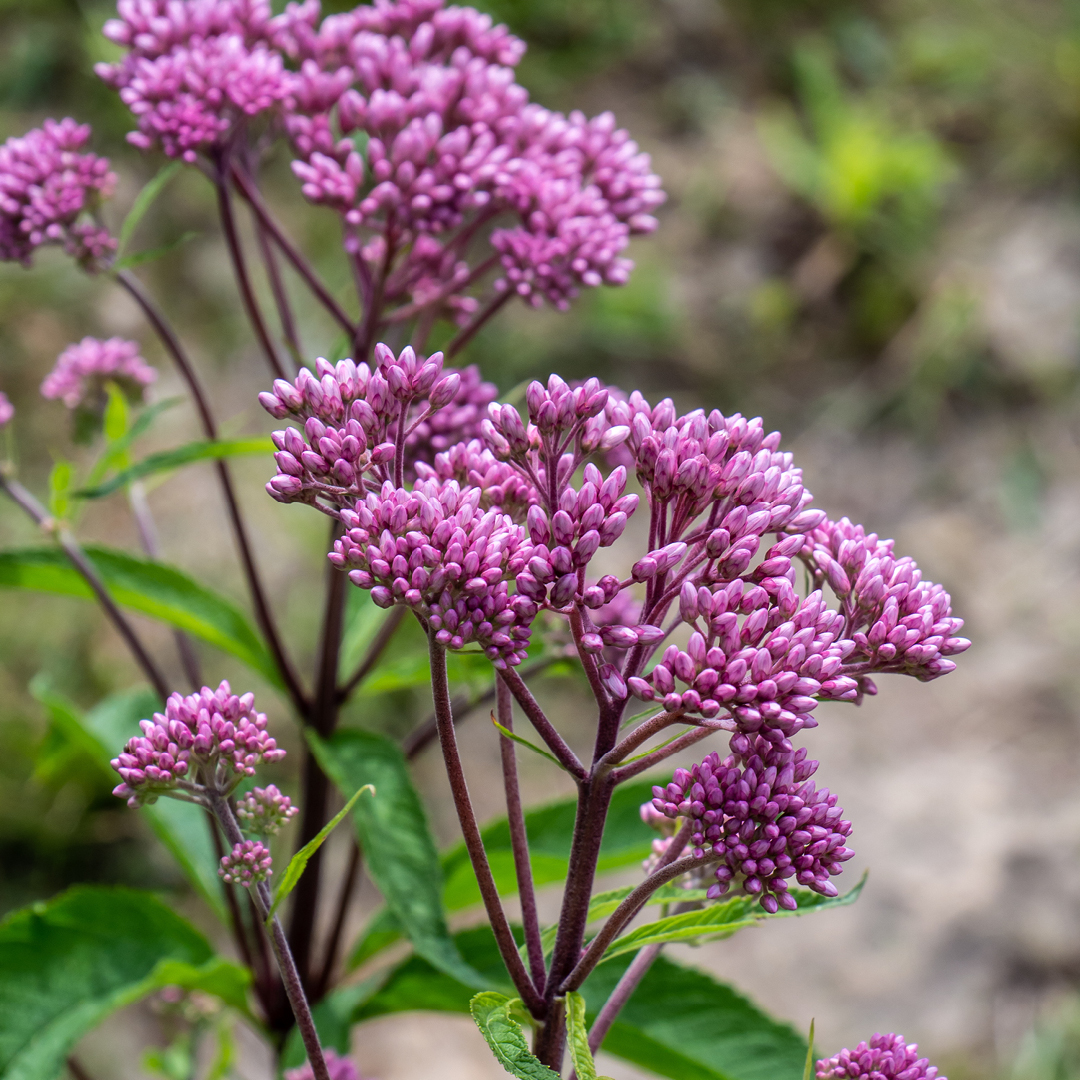
- Joe-Pye Weed (Eutrochium purpureum) – Tall perennial, 4–7’ tall; sturdy stems; clusters of pinkish-purple flowers.
- Sensitive Fern (Onoclea sensibilis) – Medium-height fern, 2–3’ tall; spreads via rhizomes; lush foliage tolerates wet soils.
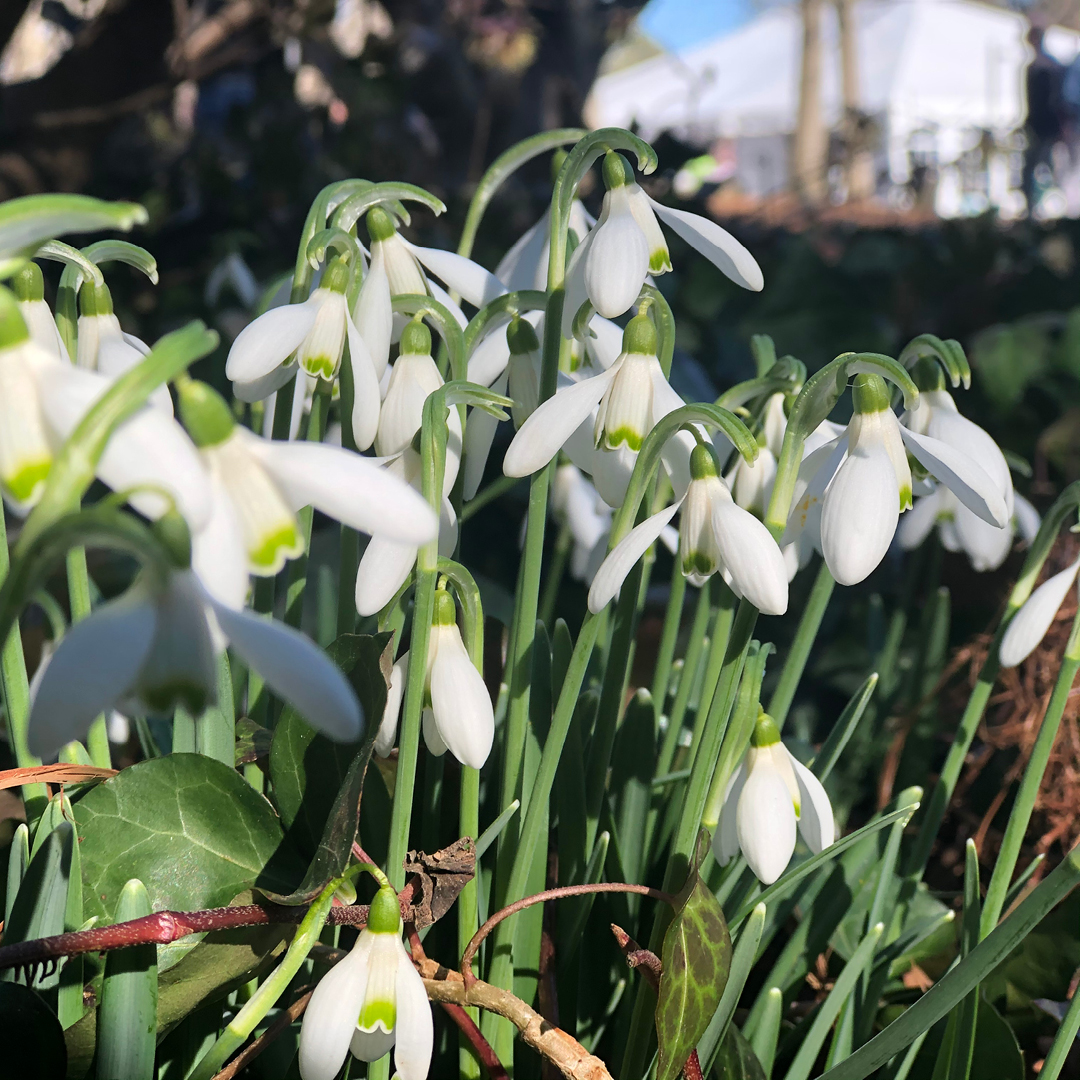
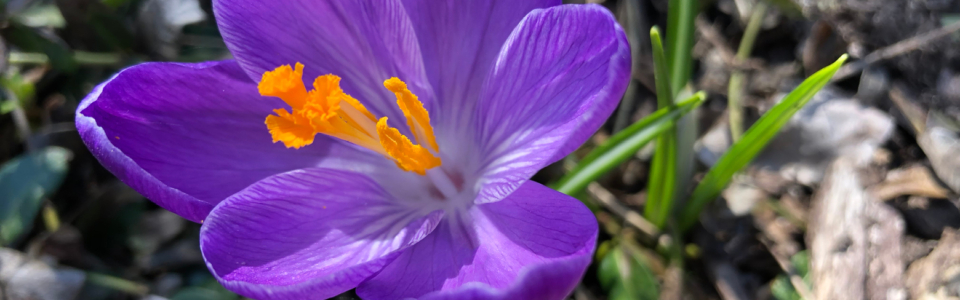
- Marsh Marigold (Caltha palustris) – Low perennial, 6–12” tall; forms spreading clumps; bright yellow spring blooms.
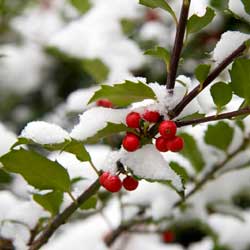
- Red-osier Dogwood (Cornus sericea) – Shrub, 6–9’ tall; spreads by suckers; striking red stems in winter.
- Winterberry (Ilex verticillata) – Shrub, 6–12’ tall; dioecious; produces bright berries for birds.
- Virginia Bluebell (Mertensia virginica) – Low perennial, 12–18” tall; spreads slowly; delicate blue spring flowers.
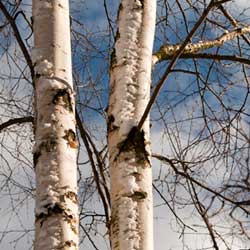
- Swamp White Oak (Quercus bicolor) – Tree, 50–60’ tall; tolerates wet soils; excellent for canopy and shade.
Maintenance and Long-Term Care
Flood-tolerant plants may self-seed or spread, which can be advantageous in meadows or riparian plantings. Keep an eye on aggressive spreaders and manage as needed. Mulching helps retain soil structure and nutrients, while periodic monitoring ensures plants remain healthy through wet-dry cycles.
Creating Functional Wet Areas
Incorporate flood-tolerant plants into stormwater gardens, rain gardens, or along streams and ponds to maximize ecological benefits. These plantings not only prevent erosion but also improve water quality and provide critical habitat for wildlife.
By selecting native plants that can endure early spring flooding, you create a resilient and beautiful garden that supports local ecosystems. With careful site planning, companion planting, and seasonal care, these species will thrive while enhancing your landscape’s visual and ecological value.