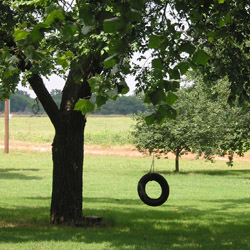
What are your garden’s trouble spots? Do you need an evergreen hedge? A tall anchor plant at the back of a deep garden bed? How about an interesting groundcover? Perhaps your garden needs a medium-sized transition plant. Try a euonymus! This versatile plant does it all, and whatever your landscape needs, this family of plants probably includes your solution. Some are deciduous while others are evergreen, but all are easy to grow and adapt well to a variety of environments.
About Euonymus
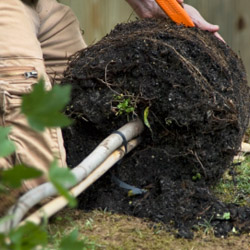
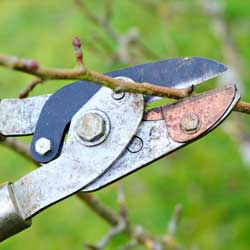
With more than 175 varieties of Euonymus available, there is sure to be one to meet your landscaping needs and climate conditions. Evergreen types tend to prefer somewhat sheltered locations, while deciduous euonymus will thrive in full or part sun. Watering should be regular, with more frequent watering (1-2 times per week) in very dry conditions. Well-drained soil is best to prevent root-rot and while richer soil is ideal, euonymus can adapt to nearly any soil type. Pruning can help keep these shrubs compact and neat, and if left unchecked they may outgrow spaces and variegated leaves could revert to plain colors.
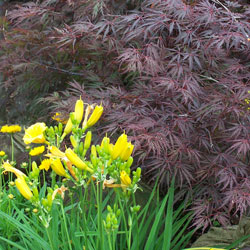
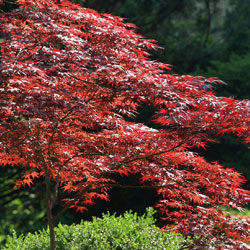
Euonymus Varieties in Autumn
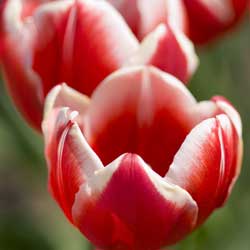
In the fall, the burning bright colors of a deciduous euonymus are unmistakable and add rich autumn foliage to the landscape. The strawberry bush (E. americanus) burns bright yellow with scarlet red fruits with orange seeds. The spindle tree, (E. europaeus) has more red in its fall color and the berries are pink or red with white seeds. Probably one of the best known is the Winged Euonymus (E. alatus), often used as a deciduous screen, with unique “winged” twigs and bright red fall color. Choose from a number of different varieties with unique colors and varying mature heights.
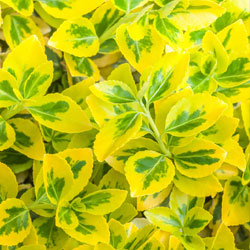
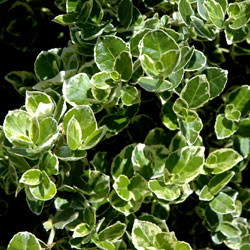
The many members of E. japonicus provide solutions for evergreen hedges, edging plants and intermediate-sized shrubs. They range from 1-12′ tall. Some are green, while others have variegated yellow or silver leaf edges. Popular ‘Green Spire’ grows to 7′ tall but at only 1-2′ wide, it creates a narrow and easily maintained taller hedge ideal for screens and privacy. ‘Silver Princess’ grows only 3′ high and wide creates a beautiful silver-tinged border or is a great option for terraces or small bed areas.
For groundcovers, check out the prostrate varieties of E. fortunei such as ‘Coloratus’ (Purple-Leaf Winter Creeper) which turns dark purple in the fall or ‘Wolong Ghost’ with dark green leaves with white veins. There is even a dwarf groundcover, E. fortunei ‘Minimus’ which grows less than 6″ high!
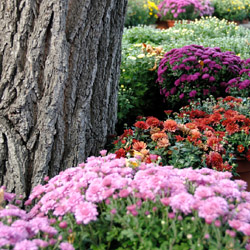
Remember, many of these euonymus varieties add autumn beauty to your garden, so this is an excellent time to see them at their peak and choose which of these unique and stunning plants should be part of your landscape.