Stocking stuffers don’t have to be useless, jokey items that are quickly forgotten after the holidays. Instead, choose the appropriate stocking stuffers with a gardening twist, and even the smallest stocking will be filled with gardening fun for that special gardener in your life. No matter what type of gardener you want to buy for, we’ve got the right stocking stuffers for their green thumb!
All gardeners love:
- Weather stations, rain gauges and hygrometers
- Window thermometers or barometers
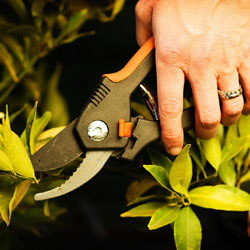
- Hand tools such as bulb diggers, trowels, pruners, foldable saws and cultivators
- Whetstone for sharpening blades
- A soil pH reader
- Velcro support tape
- Holsters for pruners
- Hand lotion to prevent chapping
- Watering cans or wands
- Kneeling pads
- Subscriptions to their favorite gardening magazines
- Garden-themed ornaments or trinkets
Seed sowers appreciate:
- Seed packets, especially heirloom or unique varieties
- Seed balls, pellets or garden “bon bons”
- Soil thermometers
- Dibble stick
- Warming mats (just roll them up to put into the stocking)
- Plant labels including metal with an embossing pen or write on styles
- Small envelopes for storing seeds
Fashionista gardeners can feel glamorous with:
- Stylish sun hats and sunglasses
- Gardening aprons or belts
- Garden clogs
- Garden-themed jewelry
- Gloves in chic colors or patterns
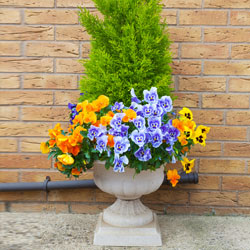
Flowerbed aficionados will appreciate:
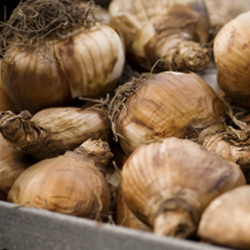
- Bulbs for spring blooms
- A wildflower guide
- Floral-themed garden accessories
- Delicate bud vases for bringing flowers indoors
- Spray bottle for pesticide or fungus care
Quirky gardeners will enjoy:
- Whimsical wind chimes
- Fairy garden accessories
- Crazy types of plants and new cultivar seeds
- Kitschy décor, like plastic pink flamingos
- Garden gnomes and accessories
- Themed stepping stones or create-your-own kits
Urban homesteaders can always use:
- How-to guides for canning and preserving food
- Filters for a kitchen compost bucket
- Treats and toys for chickens, goats or other livestock
- Indoor herb garden accessories
- Microgreen kits
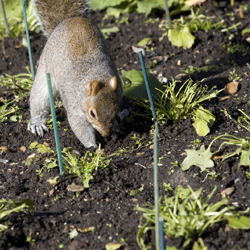
Wildlife-friendly gardeners will appreciate:
- Bird feeders
- Bird foods such as suet cakes or hummingbird nectar
- A squirrel corn cob feeder
- Local wildlife identification guides
- Critter-resistant seeds and bulbs
No matter what type of gardener is on your shopping list this holiday season, there are plenty of stocking stuffer options to meet their gardening style. Stop in and finish off that shopping list today!